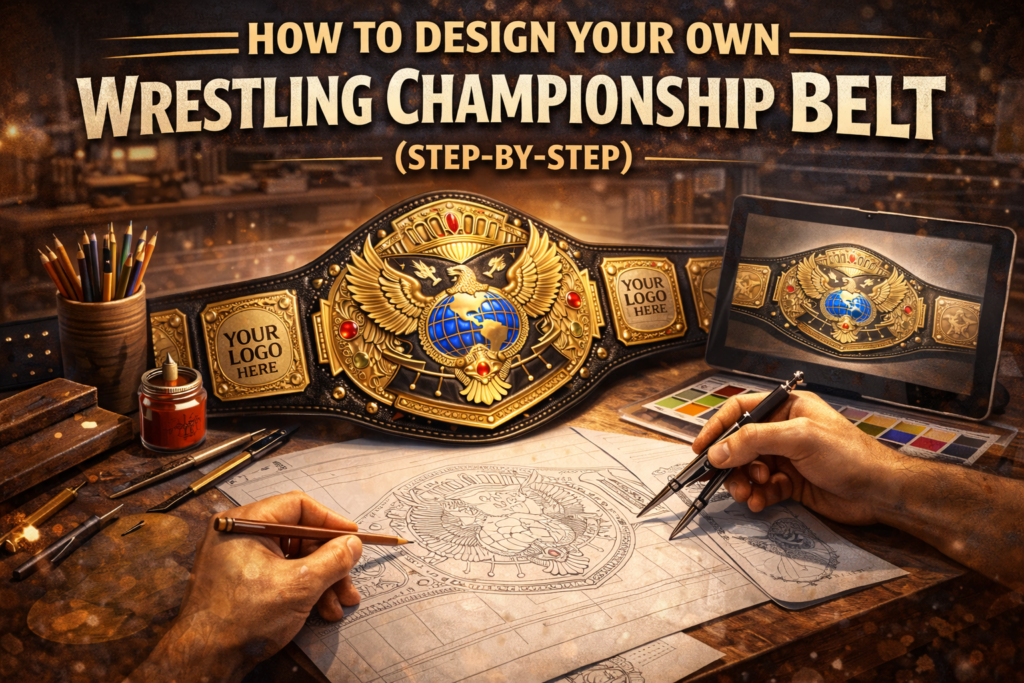
How to Design Your Own Wrestling Championship Belt (Step-by-Step)
Designing your own wrestling championship belt is about more than choosing a look — it’s about creating a symbol that represents achievement, identity, and legacy. Whether the belt is for a promotion, gym, tournament, or special event, following the right steps ensures the final result matches your vision and purpose.
This step-by-step guide walks you through the entire process of designing a custom wrestling championship belt, from concept to final approval.
Step 1: Define the Purpose of the Belt
Before choosing designs or materials, clearly define why the belt exists.
Ask yourself:
- Is this for a wrestling promotion title?
- A gym or academy championship?
- A tournament or annual event?
- A gift or display piece?
The belt’s purpose will guide every decision that follows — from materials to personalization level.
👉 Start with purpose-driven options in Custom Wrestling Belts
Step 2: Choose the Center Plate Style
The center plate is the focal point of the championship belt.
Key decisions include:
- Plate shape (round, shield, custom outline)
- Plate size (large statement vs balanced proportions)
- Design style (classic, modern, minimalist)
Your center plate should visually communicate the belt’s importance and status at a glance.
Step 3: Select Side Plates for Personalization
Side plates are where personalization truly comes alive.
They can feature:
- Champion initials
- Promotion logos
- Symbols or custom artwork
Side plates allow the belt to remain relevant over time, especially when champions change.
👉 Explore personalization options in Side Plates
Step 4: Decide on Materials (Brass vs Zinc)
Material selection affects weight, finish, and long-term durability.
- Brass: Heavier, premium feel, ideal for main titles
- Zinc: Lighter, more budget-friendly, great for events or bulk orders
Choosing the right material ensures the belt matches both your expectations and usage needs.
Step 5: Pick the Leather Strap Style
The leather strap supports the plates and completes the belt’s visual balance.
Customization options often include:
- Strap color
- Texture and finish
- Width and thickness
- Snap placement
A well-chosen strap improves comfort, durability, and presentation when worn or displayed.
Step 6: Add Engraving & Final Details
This is where your belt becomes truly unique.
Common engraving choices:
- Champion names
- Event titles
- Dates or achievements
Final details should enhance the design without overcrowding it.
Step 7: Review Design Proofs Carefully
Before production begins:
- Review layout proportions
- Check spelling and alignment
- Confirm materials and finishes
- Approve side plate designs
Taking time at this stage prevents costly revisions later.
Step 8: Production & Quality Inspection
Once approved, the belt enters production.
Final quality checks ensure:
- Secure plate attachment
- Balanced weight
- Clean finishing
- Display-ready presentation
A professionally built belt should feel solid, balanced, and visually striking.
WWE-Style Designs vs Fully Custom Layouts
Some buyers prefer designs inspired by professional wrestling aesthetics.
WWE-style designs:
- Follow classic proportions
- Feature bold center plates
- Allow personalization through side plates
👉 View WWE Championship Belt styles for inspiration
You can achieve an iconic look while maintaining originality.
Final Thoughts
Designing your own wrestling championship belt doesn’t have to be complicated. By following a structured process — defining purpose, selecting materials, and focusing on personalization — you can create a belt that represents true achievement and lasts for years.
👉 Start your design journey with our Custom Wrestling Belts collection and bring your championship vision to life.

Leave a reply